Description
This is a Pokemon Catch game for YouTube where viewers can try to catch wild pokemon that appear and fill out their Pokedex. It was designed primarily for YouTube, but could possibly work with Twitch if the Streamer.bot sub-actions and C# code is updated.
Updated with timed actions included in import now.
Video Tutorial

Resources
OBS
Make sure your OBS has these two plugins installed. If you don’t, I have provided links to them:
Then import the OBS scene collection that matches YOUR base canvas resolution (1080p or 1440p)
-
Tools > Source Copy > Load Scene > Find the file and import into OBS

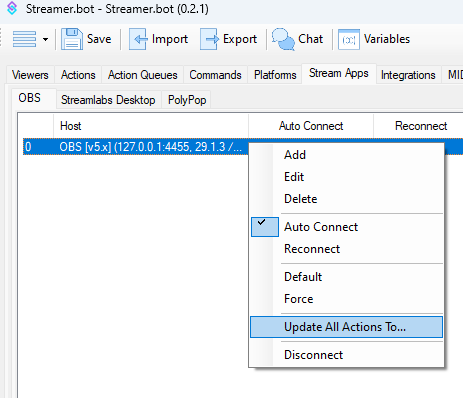
If for some reason your OBS filter and move actions don’t work you may need to go to Stream Apps > OBS > right-click on the connection > and update all actions to use “OBS [v5.x]”
Downloading Other Files
Download the Pokemon cries and Sugimori art from veekun under “Other files”

Create a folder and unzip the compressed folders you downloaded into the new folder. Take note of where those folders are.
You may have to unzip using 7-zip first, and then extract it again after that. Not sure why, but that’s how I got it to work
In the Sugimori art folder make changes to the following images:
201.png> delete the file (it’s broken)201-f.png> change to201.png386.png> delete the file (it’s broken)386-[style of your choice]> change the style you want to appear to386.png
Download this ZIP, unzip it, and put these folders in your new folder you created as well:
- Catch Chance
- Sound Effects
- Text Names
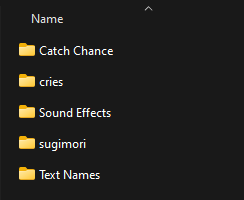
You should now have these folders in a location you can reference later:
Last Files
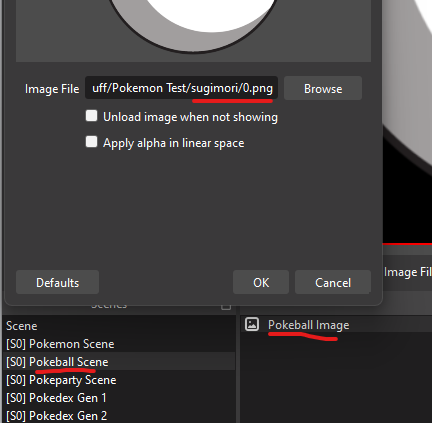
Find a square image of a Pokeball like this and save it in the “sugimori” folder as 0.png
Update the image source on the [S0] Pokeball Scene to that 0.png image location
Optional - There is a “Success” image on the [S1] Catch That Pokemon scene that you can update to the Streamer.bot logo, or whatever you want
Import Code
Pokemon Catch Game 1.0.3.sb (38.8 KB)
Installation
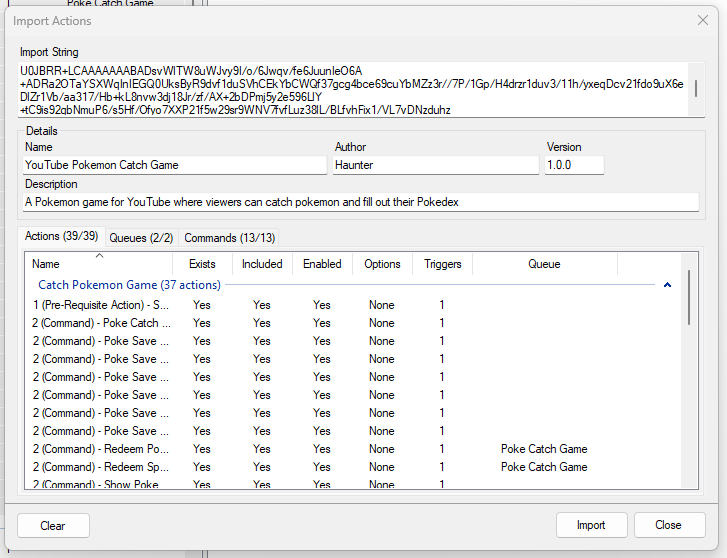
In Streamer.bot select the Import button from the top left menu.
Drag and drop the file or copy the text from the file and paste all the text into the Import String field.
There should be 39 actions and 13 Commands.
Configuration
File Locations
You will need to update file locations on the action “1 (Pre-Requisite Action) - Set Global Poke File Paths” so they are pointed to the correct file locations on your PC.
MAKE SURE TO USE " \ " and not to copy the file location from Windows Explorer or it won’t work.
pokeTextNamesFolder- The Text Names folder locationpokeCatchChanceFolder- The Catch Chance folder locationpokePictureFolder- The Pokemon Pictures folder locationpokeCriesFolder- The Cries folder locationsoundEffectsFolder- The Sound Effects folder location

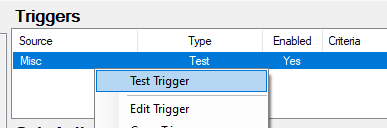
Once you are done, right-click the Test trigger and test it.
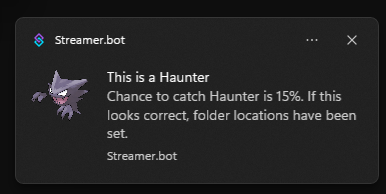
If you hear the sound of a successful Pokeball catch and the toast notification looks correct, then it worked! This will assign the paths to global variables so the rest of the actions can work.
Pokedex Setup
By default, only a message will be sent in chat with the pokedex completion number and % complete. There are two additional optional ways for viewers to see their pokedex
- Discord Webhook - You can have the screenshot sent to a discord channel by setting up the webhook address in the “Show Pokedex Gen #” actions and enabling the sub-action

-
Make sure to do this for ALL 3
-
Only update the webhook name and the webhook address. Leave the majority of the content and image as is
- Pokedex scene appearing in OBS - You can have the images of the caught pokemon show up on screen by enabling the two OBS Source Visibility sub-actions in each “Show Pokedex Gen #” action
OBS Audio Note
By default the sound of the pokemon cry is set to play in OBS through your Monitor ONLY, no output. Depending on your sound settings in OBS you may want to update this if you like.
Gen 1-3 Settings
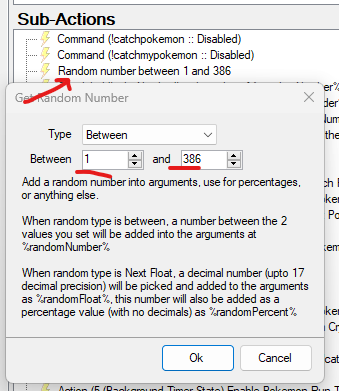
By default it has Pokemon randomly appear from Gens 1-3 (#’s 1-386) but you can change it so that it selects a smaller range by changing the Random Number between… sub-action on the 3 (Timed Action) - Pokemon Catch Appeared! & 5 (Background Action) - Pokemon Catch Appeared! (Redeem) actions.
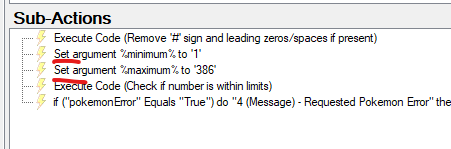
And the Set argument %minimum% and Set argument %maximum% and Set argument minimum sub-actions on the 5 (Background Action) - Check Pokemon Range Limit action.
Difficulty Settings
If you feel that pokemon are TOO EASY to catch or TOO DIFFICULT you can change the number in the sub-action “Set argument %difficulty%…”

Find the number “160” in the sub-action and change it lower if you want it to become easier, or higher if you want it to be more difficult to catch the pokemon
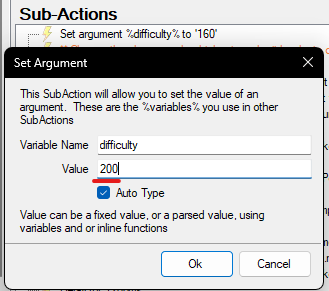
(example to make it more difficult to catch them)
Commands
!catch & !catch2
These are the commands that can be used when:
- A wild pokemon appears (anyone can use it)
- A user redeems
!catchpokemonor!catchmypokemon
If a user redeemed the command, then Streamer.bot will only let the redeemr use the !catch or !catch2 commands.
There is an option to use !catch2 because sometimes YouTube doesn’t let the !catch command through. If users report their !catch command isn’t working and you don’t see any message of it, then recommend that they use !catch2
!catchpokemon
example - !catchpokemon
This command is a redeem where a user can spend points to have their OWN chance at catching a random pokemon using !catch or !catch2
- If the random pokemon has already be caught by the user, then it will reset and refund their points.
!catchmypokemon
This command is a redeem where a user can spend points to have their OWN chance at catching a SPECIFIC pokemon using a number after !catchmypokemon
example - !catchmypokemon 1 would make Bulbasaur appear.
By defauly the number will work from 1 through 386
Users will not be able to catch a specific pokemon they have already caught.
!pokedex, !pokedex2, & !pokedex3
These commands will retrieve the user’s Pokedex count and % completion of Gen1, Gen2, & Gen3 respectively
Gen1:
!pokedex
!pokédex
!pokedex1
!pokédex1
Gen2:
!pokedex2
!pokédex2
Gen3:
!pokedex3
!pokédex3
Please see the Pokedex Setup in the Configuration section above for more options.
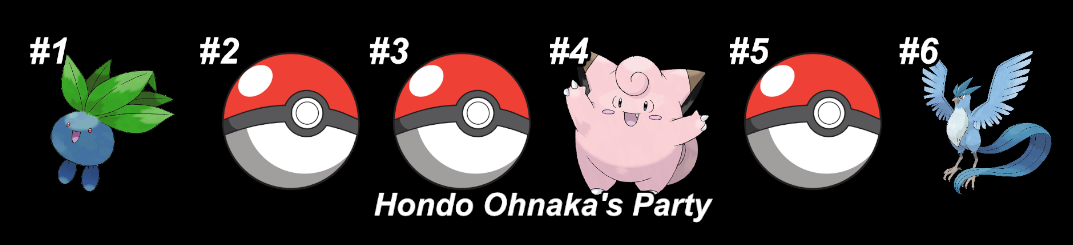
!pokeparty
This command will show a user’s 6-slot pokemon party on screen
example:
!pokeparty
!poképarty
In order to set pokemon they have caught, the users will need to use the “!slot#” command
!slot1-6
Once a user has caught a Pokemon, they can assign it to one of their 6 slots in their Pokemon party:
!slot1 [pokedex #]
!slot2 [pokedex #]
!slot3 [pokedex #]
!slot4 [pokedex #]
!slot5 [pokedex #]
!slot6 [pokedex #]
example - If a user wants to assign Mewtwo to slot 4 in their Pokemon party they would type:
!slot4 150
if instead they wanted to assign it to slot 2:
!slot2 150
Remember that they can only assign a Pokemon if they have caught it.
Also, If the pokemon is already assigned to a slot, they will need to assign a different pokemon first before they move it to a new slot
Manual Actions
If needed there are two actions you can use to update slots or the Pokedex
Manually Assign Caught Pokemon
By “testing” the trigger in this action, you can set a Pokemon as “caught” for a user.
-
Make sure to have their User ID ready
-
Make sure you know what Pokedex ID you want to use

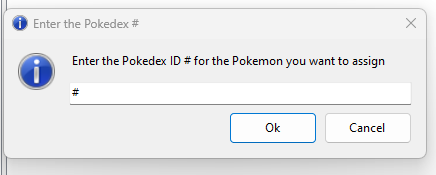
Then enter the details in the input windows.
Their pokedex will update the next time they catch a Pokemon, but they will be able to assign it to their party.
Transfer PokeSlot Numbers to New Slots and Pokedex
This is available for anyone who used the old system and will update everything from the old system’s record.
To update the Pokedex records, “test” the trigger in this action.
It will NOT update the old system record, so use it only once, and only use it before implementing the new system LIVE
Contributors
Idea for the game from Shane Alan Gower
Created and Designed by Haunter ![]()
Downloads from veekun